Studio basics
Resources for making comics for this college-level studio workshop and beyond: class assignments, various creative processes, production tips, art supplies, media demonstrations, and an all-too-brief optional reading list
Resources for creation & production
Assignments
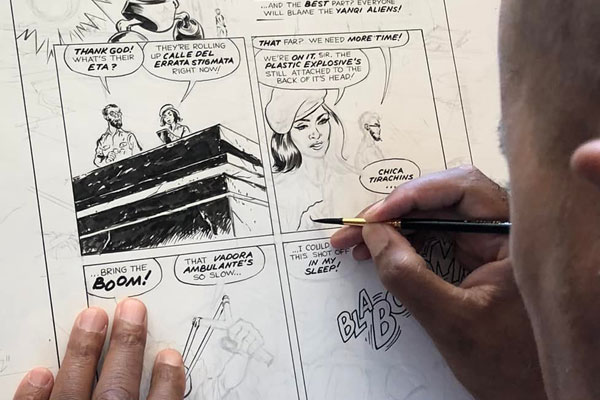
Art of the Comic Book is a college-level studio workshop for making comics with traditional ink-on-paper media. Classwork exercises designed for students to create their first comics from scratch. Creative fundamentals are mostly visual: art & words, storytelling, composition, etc. We also cover technical issues like research, anatomy, perspective, and production. These exercises are mini visual narrative projects, based on current industry standards. Their ultimate goal is discovery and evolution of individual creative process. We also study the masters of the medium.

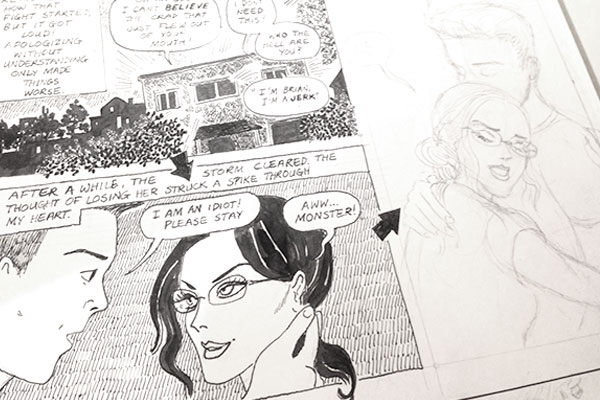
Process
Whether you're collaborating or working on your own, there's no one "correct" way of creating and developing a story. Here are just a few I've picked up over the years.

Production
While your work is traditional ink-on-paper, print media is exclusively produced with digital tools. Photoshop has been the industry-standard tool to this end for more than 20 years.
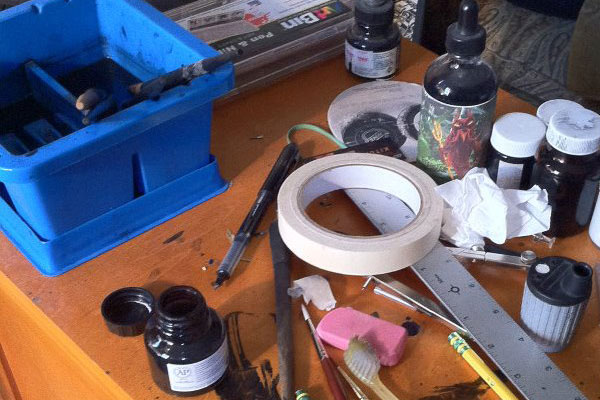
Supplies
Tools of the trade: a curated list of papers, inks, pens, brushes, technical instruments, and other comics creation supplies. Links go to online stores.
Helpers
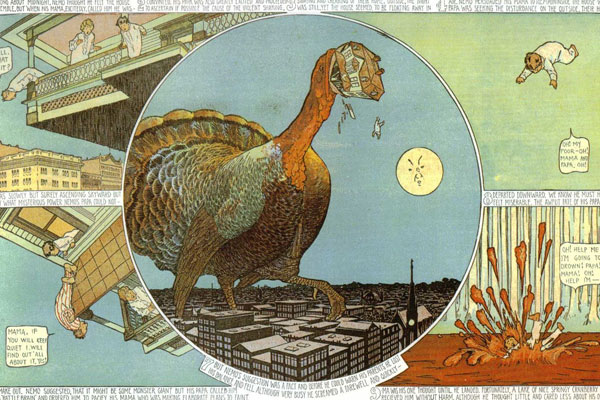
Comics presentation
An all-too-brief Powerpoint on comics art history, and its relation to technology and commerce
Media demos
Step-by-step original video demonstrations of ink and drafting tools related to comics
Recommended Reading
Comic book technique
- Making Comics: Storytelling Secrets of Comics, Manga and Graphic Novels by Scott McCloud
- Drawing Words and Writing Pictures: Making Comics: Manga, Graphic Novels, and Beyond by Jessica Abel and Matt Madden
- Writers on Comics Scriptwriting, Vol. 1 by Mark Salisbury
- Will Eisner's Shop Talk by Will Eisner
- "Thought Balloons and Other Abandoned Storytelling Techniques" Roundtable discussion moderated by Richard Starkings of Comicraft, with Todd Klein, Steven Grant, Trina Robbins, and more.
Comic book history
- Men of Tomorrow: Geeks, Gangsters and the Birth of the Comic Book by Gerard Jones
- Kirby: King of Comics by Mark Evanier
- Strange and Stranger: The World of Steve Ditko by Blake Bell
- Wally's World: The Brilliant Life and Tragic Death of Wally Wood by Steve Starger and J. David Spurlock
- Blazing Combat by Archie Goodwin
- The Comics Before 1945 by Brian Walker